
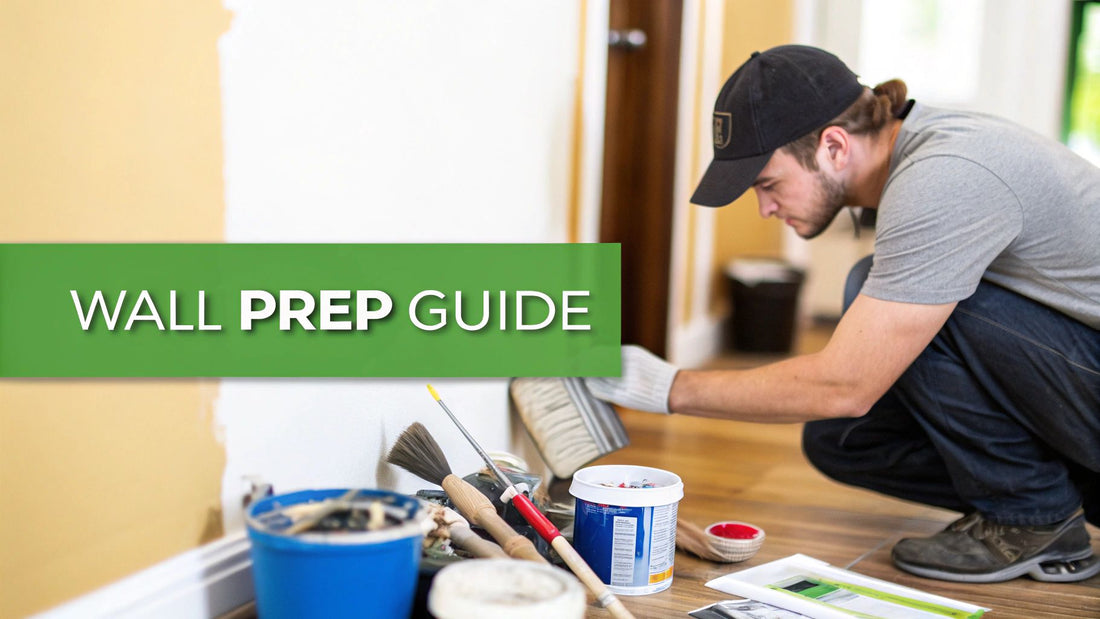
Ever painted a wall, stood back happy with the result, then watched it bubble, crack, or peel a few months later? The paint probably wasn’t the problem.
Nine times out of ten, it comes down to how the wall was prepped before a single coat went on.
Knowing how to prepare walls for painting properly is the difference between a finish that looks professional for years and one that starts failing within months.
The good news is that preparing a wall for painting isn’t complicated, it just takes the right steps, done in the right order, without skipping any of them.
This guide walks through exactly how to prepare walls for painting, from clearing the room to the final check before you open the paint tin.
If you’d rather leave the prep work to someone else, our interior & exterior painting service handles this as standard on every painting job across Virginia, Maryland and Washington DC.
How to Prepare Walls for Painting
- Clear the room – move or cover furniture, lay drop sheets
- Clean the walls – remove dust, cobwebs, grease, and grime
- Scrape off loose or flaking paint
- Fill cracks, holes, and dents with filler
- Sand the surface smooth once filler has dried
- Wipe away all dust before priming
- Spot-prime stains, patches, and bare filler
- Tape edges and trim for clean lines
- Do a final inspection in good light before painting
Skipping any of these steps is the most common reason a paint job fails early.
Why Wall Prep Matters Before Painting
Paint needs a clean, stable surface to bond to.
Without proper preparation, even premium paint will struggle to adhere evenly, and problems like flaking, bubbling, and patchy coverage tend to show up faster than most people expect.
Preparation also affects how the final result actually looks.
Cracks, dents, and rough patches that aren’t dealt with beforehand become far more visible once paint is applied, especially in rooms with strong natural light.
A well-prepped wall hides these imperfections; a rushed one highlights them.
You should also read: How To Repair Drywall Cracks: Step-by-Step Guide
Virginia’s climate adds another factor.
Cold, dry winters and hot, dry summers put real stress on interior surfaces, especially in older homes where walls have already carried multiple coats over the decades.
Proper prep gives paint the best possible chance of holding up through those seasonal swings, rather than needing a repaint again in a year or two.
What You’ll Need
Before you start, gather the basics:
- Drop sheets and painter’s tape
- Sugar soap or a mild detergent solution
- A paint scraper
- Fine and medium-grit sandpaper (or a sanding block)
- Quality filler (for small holes and cracks)
- A filling knife
- A damp microfiber cloth or tack cloth
- Primer/sealer suited to your surface
- A vacuum with a brush attachment
Having everything ready before you start saves time and stops the job stalling halfway through.
Step-by-Step: How to Prepare Walls for Painting
1. Clear and Protect the Room
Move furniture out of the room where possible, or push it to the center and cover it with plastic sheeting.
Lay drop sheets across the floor canvas are less slippery underfoot than plastic. Remove wall décor, switch plate covers, and anything else you don’t want painted.
2. Dust and Inspect the Walls
Use a soft brush or vacuum attachment to remove cobwebs and loose dust, working from the ceiling down.
While you’re at it, check carefully for mold, especially in bathrooms or poorly ventilated rooms that need treating with a fungicidal solution before you go any further.
3. Scrape Off Loose or Flaking Paint
Hold a paint scraper at roughly a 45-degree angle and remove any sections of loose or bubbling paint.
Stubborn spots usually respond well to a light sand with fine-grit sandpaper afterwards.
4. Clean the Walls Properly
Mix sugar soap according to the packet instructions and wash the walls from top to bottom with a clean cloth. Rinse with clean water and let the surface dry completely.
This step matters more than people expect, since filler and paint won’t bond properly over residue or grease.ç
5. Fill Cracks, Holes, and Dents
Apply a quality filler with a filling knife, smoothing it in both directions so it sits flush with the wall.
Leave it to dry fully usually around 30 minutes for small fills, longer for larger cracks, before sanding.
6. Sand the Surface Smooth
Once the filler is dry, sand the whole area lightly with fine-grit sandpaper (150–180 grit for previously painted walls, slightly coarser for heavily textured surfaces).
The goal is a smooth, matte surface that paint can grip, not a perfectly uniform finish.
In older plaster homes, sand by hand rather than with a power sander, since aggressive sanding can crack aged plaster.
7. Remove Every Trace of Dust
This step gets skipped constantly, and it shouldn’t be.
Vacuum the wall and skirting boards with a brush attachment, then wipe down with a damp microfiber cloth or tack cloth.
Leftover dust is one of the most common causes of a gritty, uneven paint finish.
8. Prime Problem Areas
Spot-prime any filled patches, stains, or bare plaster before painting.
This isn’t just about hiding old marks, primer helps the topcoat achieve its true color and gives it a proper surface to bond to, especially over patched areas that would otherwise absorb paint differently to the rest of the wall.
9. Tape Edges and Trim
Apply painter’s tape along skirting boards, architraves, and any fixtures you’re not painting.
Press it down firmly and smooth out any folds where gaps in the tape are exactly where paint bleeds through.
10. Do a Final Check in Good Light
Inspect the wall in natural daylight if possible, standing back about 1.5–1.8 meters and viewing it from both straight-on and at an angle.
This is the best way to catch any remaining imperfections before you commit to painting.
Common Wall Prep Mistakes to Avoid
Skipping the cleaning step
Dust and grease under paint cause peeling later, even if the wall looks fine at the time
Sanding immediately after filling
Filler needs to fully dry first, or it smears instead of sanding smooth
Ignoring mold
Painting over mold without treating it first means it will come straight back through the new coat
Rushing the dust removal
Even a light dust layer shows through as a rough, gritty finish
Using the wrong primer
Bare filler, stains, and glossy old paint all need different primer treatments to bond properly
DIY vs Hiring a Professional for Wall Prep
For a single small room, DIY wall prep is manageable with some patience and the right tools.
For a full house or for older homes with more extensive repairs, cracked render, or potential asbestos concerns professional prep tends to be worth it.
Our interior & exterior house painters handle every step of this process as standard, from filling and sanding through to priming, so the finish is built to last rather than just look good on day one.
Conclusion
Learning how to prepare walls for painting properly is the single biggest factor in whether your paint job lasts for years or starts failing within months.
Clean, filled, sanded, and properly primed walls give paint the foundation it needs to perform no shortcuts required, just the right steps done in order.
If you’d rather skip the prep work altogether, Kevin Juares Handyman Services handles the entire process from surface prep through to the final coat as part of every interior and exterior painting job across Virginia, Maryland & Washington DC.
Get a free written quote today or call 703-254-7366 to talk through your project.





0 Comments